Advanced Actions
API Request
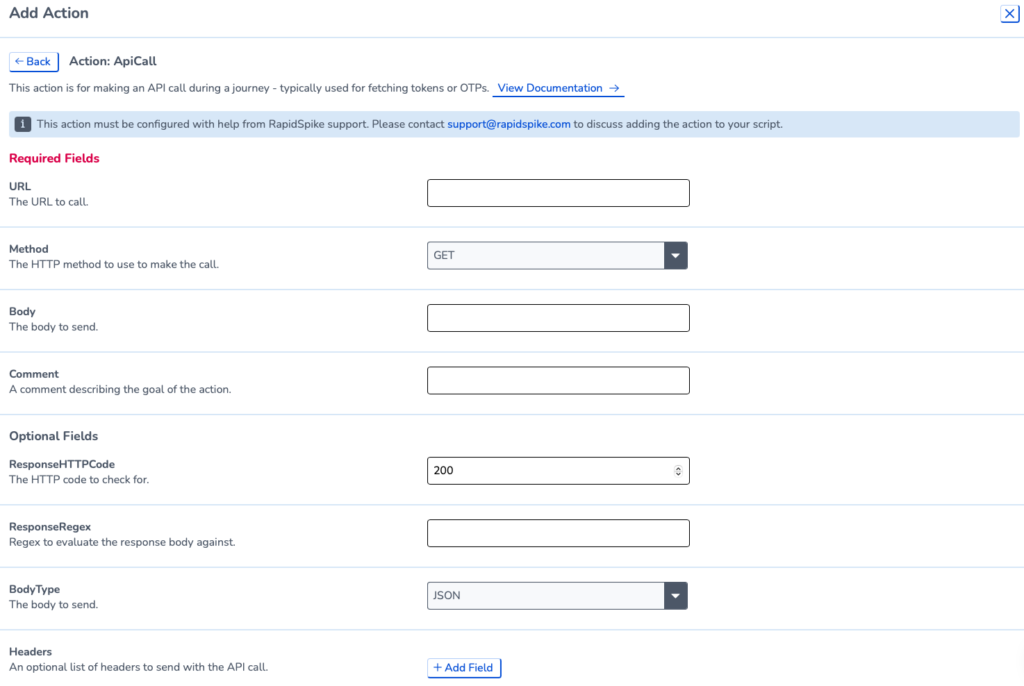
This action enables you to make API calls within a user journey. The response HTTP code can be checked against an expected value, along with the response body against an expected regex pattern.
The action can be useful for scenarios such as:
- Requesting one-time passwords or verification codes
- Authorising access for the test session at the start of the journey
- Clearing open baskets or delivery slot bookings at the end of a journey
- Making calls “home” to register test progress
- Requesting searches
This action can be highly customised. This includes Dynamic parts: You can use GenerateItem actions to dynamically create items of data to include in the body to be sent in the API call, or the URL.
Alert
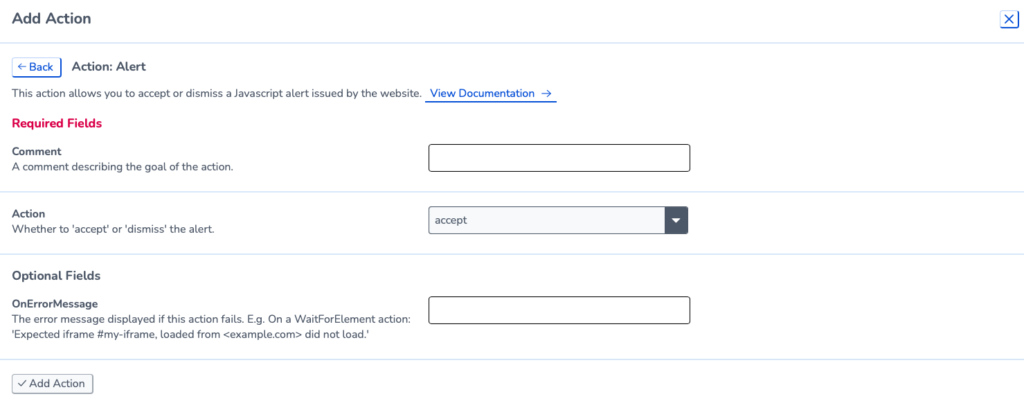
The ‘Alert’ action enables you to handle Javascript alerts that your website generates. The options are accept or dismiss.
Browser Controls
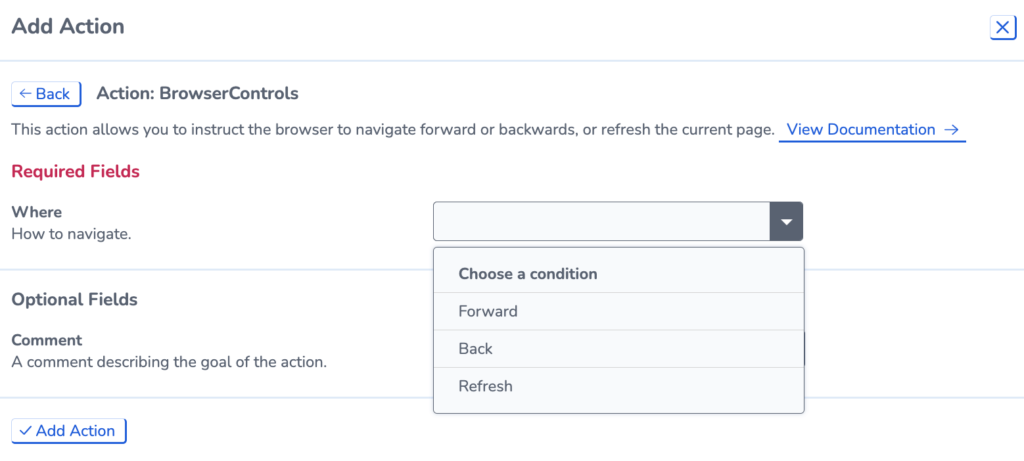
The ‘Navigate’ action instructs the browser to navigate forwards or backwards and refresh the current page. These can be utilised for a number of reasons such as:
- Reload the elements on a webpage
- Simulate a real users behaviour
Depending on how the ‘Navigate’ action is used we would recommend a ‘WaitForElement’ immediately after. This ensures the page has time to load prior to the next action.
ExecuteJS
The ‘Execute’ action runs a Javascript snippet within your journey. This allows you to perform actions that aren’t in our actions list such as page scrolling.

Exit
The ‘Exit’ action provides the option to cleanly exit a journey rather than having to complete all steps/actions in the script to completion. When included within an IfElement it will provide the option to avoid a failure to an intermittent expected scenario. This can be great for decreasing the frequency of failures and alerts if you are unable to stop something from happening but are okay with the result.
Open URL
The ‘OpenURL’ action instructs the browser to open a URL. This can be used to quickly navigate to a specific page. We recommend using clicks to navigate to a particular page but there are times when an ‘OpenURL’ is more appropriate. A good example of this is if you need to visit another site in the same journey.
To use the ‘OpenURL’ action, copy the URL link you want to visit and input this into the action. This will add a standard link into your journey and will load the URL once it reaches the action.
It’s also possible to use a Script Variable for the Link, which may have been generated from an ApiRequest to generate a dynamic link. The value would look something like $ScriptVariable.link.
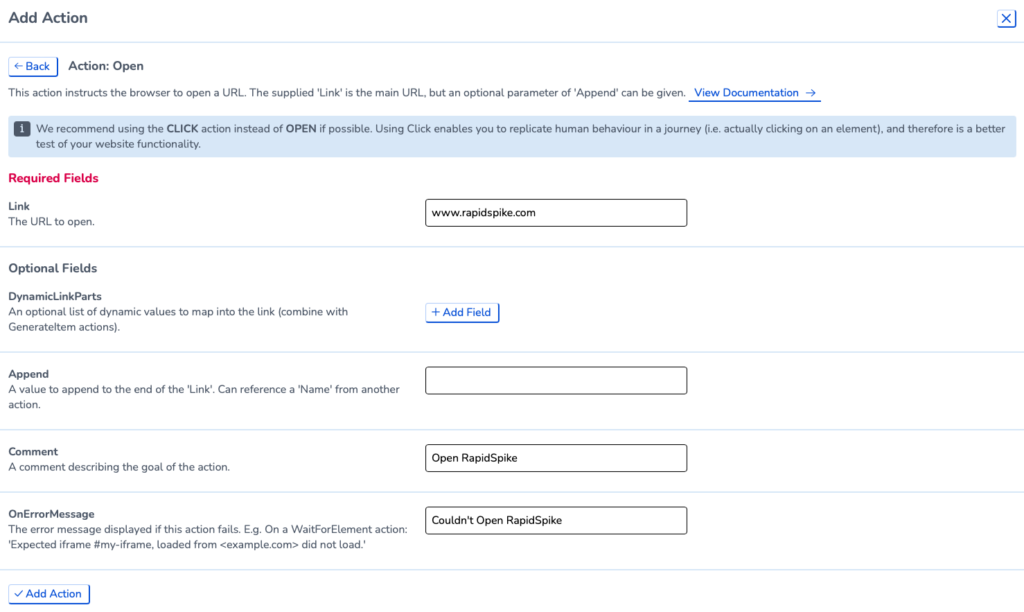
There are also some optional fields to this and you are able to add Dynamic Link Parts as well as add a value to append to the end of the link. Particularly with the Dynamic Link Parts, this provides the opportunity to add randomisation and increase the monitoring capabilities of your site. An example of this would be cycling through a variety of products in the same journey.
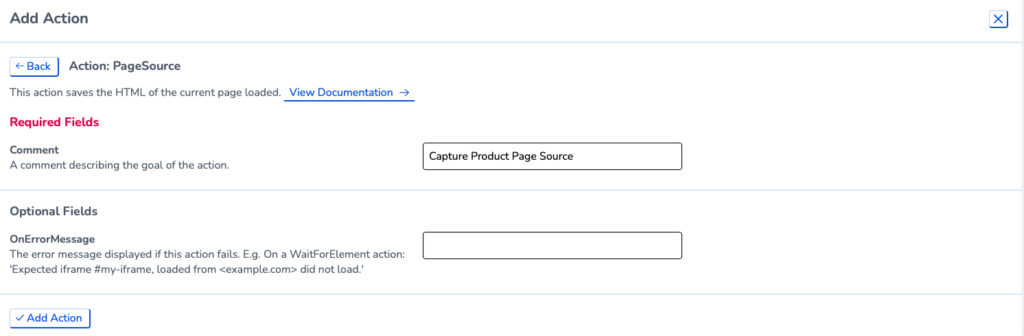
Page Source
The ‘PageSource’ action saves the HTML of the current page loaded. Although this information is saved in each step it is sometimes useful to gather this data, especially for debugging purposes. If your journey has randomisation within the script you might want to collect this data to establish trends when viewing your monitor results.
Although we highly recommend one page per step this action allows gathering multiple page sources within a step.
Pick Item
This action is designed for selecting an item at random from a predefined list of items for use within input actions.
Firstly, we need to configure the PickItem action. Here we are defining a list of three search terms (items) to pick from and the name to assign the selected item to a name, here we have chosen ‘searchterm’ as we are inputting products into a search box.
You can then recall the script variable that this creates.

SetViewport Size
The ‘ViewportSize’ action changes the current window’s viewport to a given width and height. This is for changing the viewport at some point during the journey and not for setting the overall viewport size.
Common reasons for changing the viewport size would be if you are accessing a different site or page with different size specifications to the beginning of the journey. This is also very useful if testing a mobile viewport size compared to desktop.