Add a New Server to RapidSpike
If you want to add a new server to your account, go to Create > Server to open the menu.
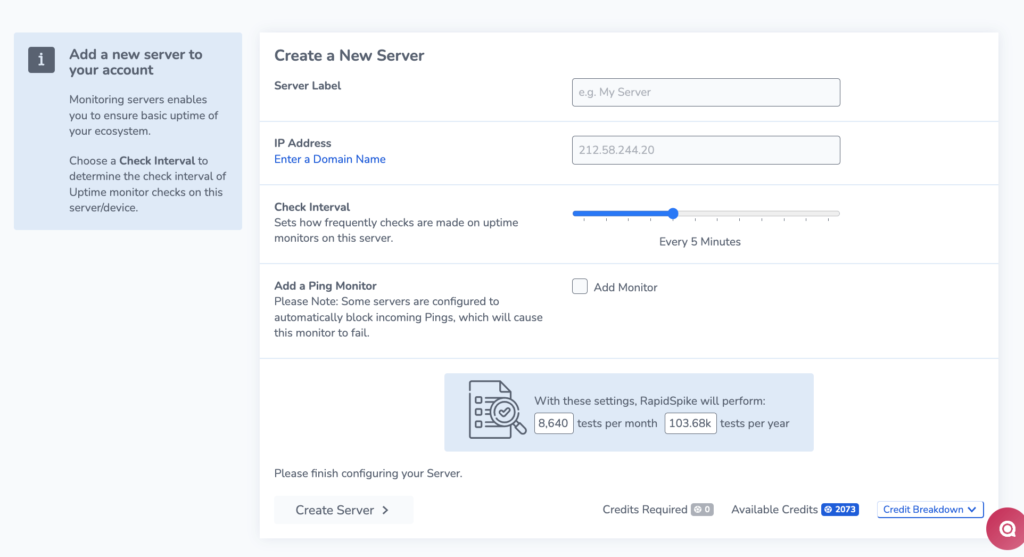
Fill in the Label, IP Address, Check Interval and Add a Ping Monitor.
You can see how many credits you have available at the bottom of the page.