View your Sitemap monitor data
RapidSpike’s sitemap monitoring feature allows you to schedule regular checks of your website’s sitemap. It can verify if your pages are accessible, check for broken links and ensure that it follows the XML protocol. By monitoring your sitemap, you can detect issues such as missing pages that could affect your website’s visibility and SEO performance.
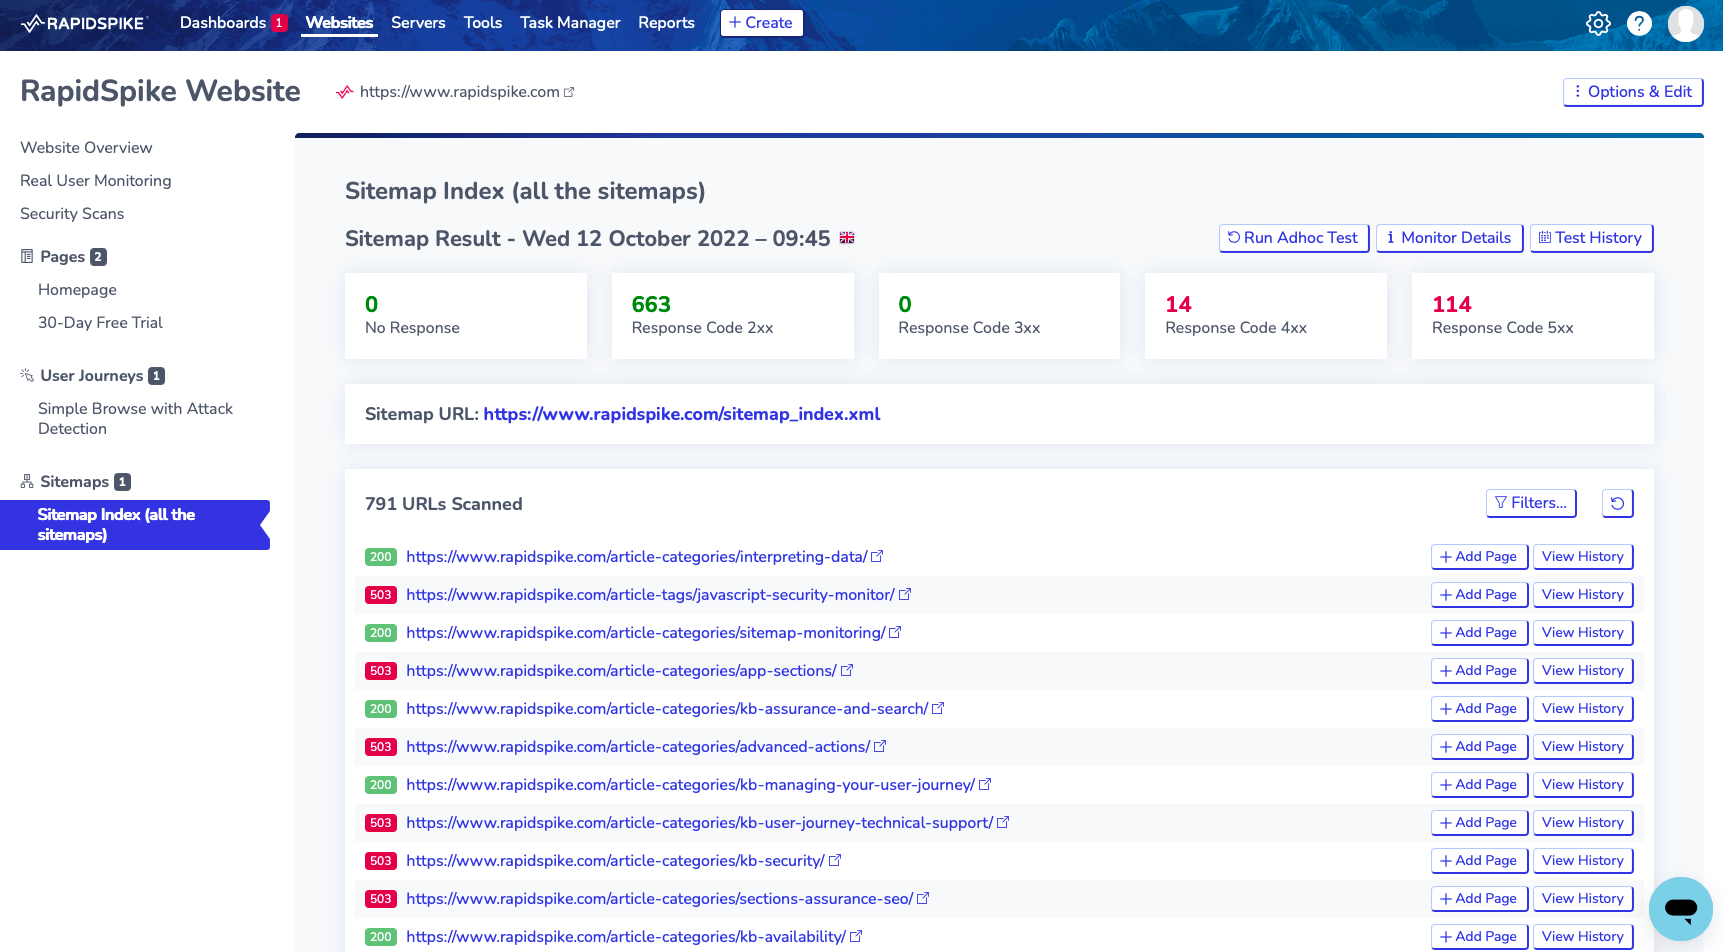
Where to find your Sitemap Monitor
Go to Websites > Sitemaps and select the Sitemap you want to monitor. This will bring you to the latest test result. To view historical data, go to Test History.
View Individual URL Data
Click View History to see test results from the last 30 days.
You can view the response code received, response times, and the respective regions associated with each test.