Following last month’s successful redesign of our main navigation, we’ve been hard at work improving how you add monitors to your account.
The old “Add New” process did not have a lot wrong with it. However the occasional feedback from our customers fell into these common themes:
- What do each of the monitors actually monitor?
- The process takes too many clicks
- It’s not clear how often monitors will run
Armed with this feedback, we felt a quick revamp – a new coat of paint and a bit of optimisation – would sort things out. Our mission was to address all issues with these changes:
- Give more helpful information about each monitor type
- Streamline the process where possible
- Explain the testing frequency for each monitor type
- Brighten up the design to match the rest of the app
Being helpful
Our first change was to provide more useful information about the monitors we have available. Over the past couple of years the variety and range of monitoring with RapidSpike has grown enormously. We started with simple Pinging, Port and Page checking (HTTP). We now have a whole suite of uptime, performance, SEO and Assurance monitors available!
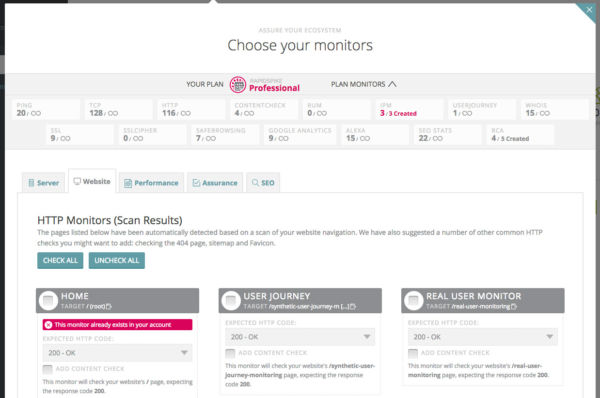
New customers might be daunted by this list, so we’ve helpfully described what each monitor does, and what it applies to (SEO, Servers, etc).
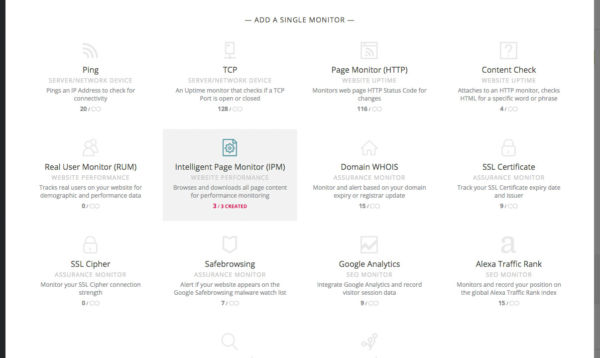
Alongside the monitor description, we’ve also included a little extra information. The Add window will tell you how many of that particular monitor you’ve created, and how many are available on your current plan. For a lot of our users, a good deal of our uptime monitors are completely unlimited!
Streamlining and reducing clicks
Our old Add window went through each step methodically, asking users to click “ok” or “next” to continue. We did this as our Add New process is actually quite clever and we felt it would help users to understand what was happening. For example, when you add a new Website, we do the following:
- Check the website domain name exists
- Check if the domain redirects to another address
- Look up the IP Address of the server that hosts the website
- Check whether the server or website already exists in your RapidSpike account
- Scan the website looking for the main navigation menu
- Scan the server looking for open and closed ports
- Return a list of suggested monitors based on our scan
… that’s a lot of processes!
We still do all of the above, however we now only ask for confirmation at any point if there is a problem. For example, if the domain you enter is secure (HTTPS), but our scanner can’t detect an SSL Certificate, we’ll let you know.
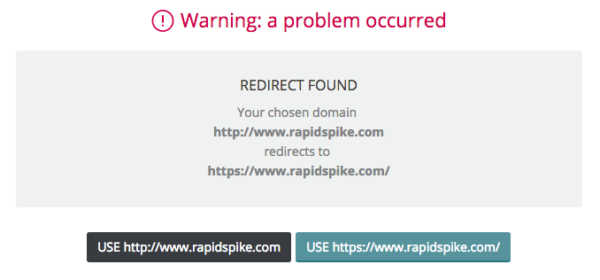
This change means that after typing in your monitor name you can often create it with just a single click.
Displaying our Check Interval
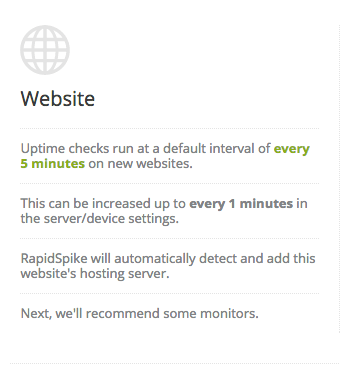 Check times vary from monitor-to-monitor, so we’ve helpfully included the frequency alongside the monitor information when you click on it.
We’ve had a number of support requests asking what the Check Interval is for certain monitors, so we felt it useful to display it as a reminder every time you make a new monitor.
In addition to the Check Interval, we’ve included other useful information about your monitor to help you during the creation process.
Fresh new design
Finally, our new Add window has a fresh coat of paint! We’ve matched the simple, clean look to the rest of the app, so hopefully you’ll find it both and easy and pleasant to use.
We’ve love to hear your feedback, good or bad, on the changes we’ve made. Let us know what you think.